Getting up and running with Trickster: Recently Used Files is easy, and takes only a few minutes. Follow along to learn how to install the app on your Mac, choose which files and folders to track, and how to prevent specific file types from being tracked. Get ready to boost your productivity by always having the files you need right at hand! If you’d like to watch a video of this process, you can visit our YouTube channel.
Installing Trickster
Installing Trickster is easy. Just download Trickster from our website. You can download Trickster with your favorite web browser, but if you have any issues try using Safari. Web browsers save files to the Downloads folder by default, so that’s probably where it’s waiting.
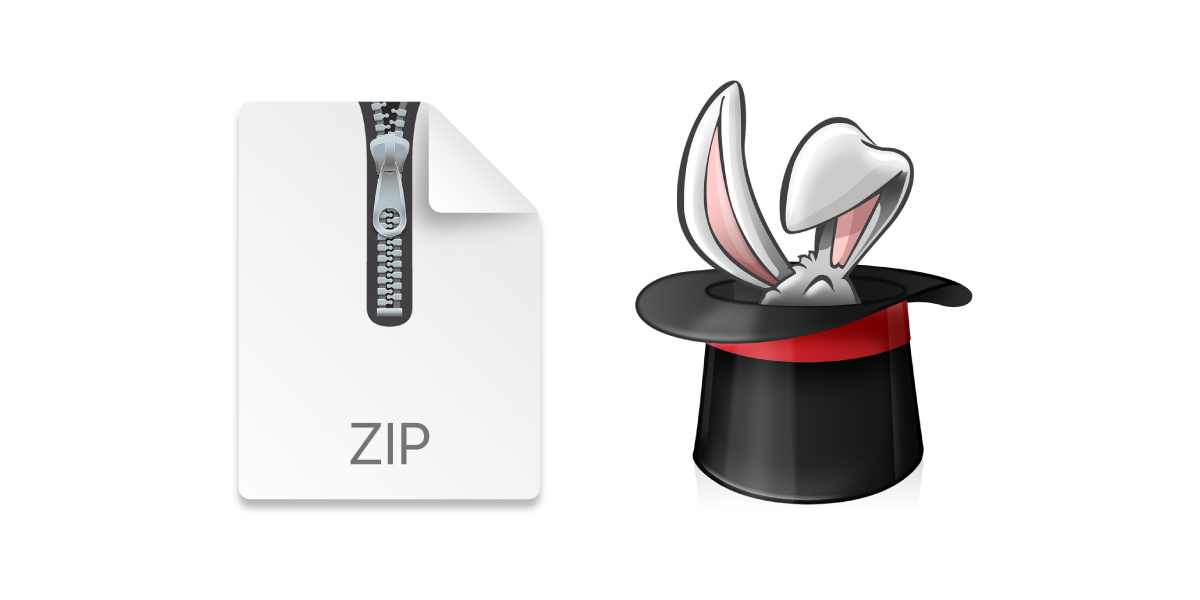
The Trickster app icon looks like a top hat with a rabbit popping out. If you see an icon that looks like a sheet of paper with a zipper instead, just double-click it to expand the app. Now you can drag the Trickster top hat icon to your Applications folder. Once it’s there, double-click the Trickster icon to get started.
Understanding Trickster’s Interface
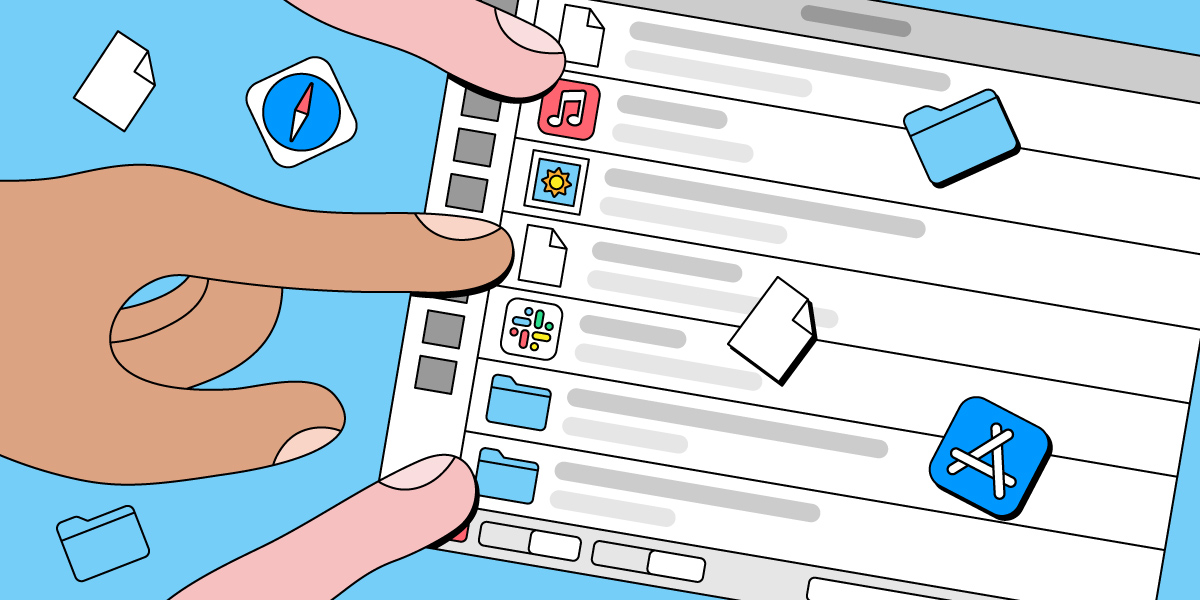
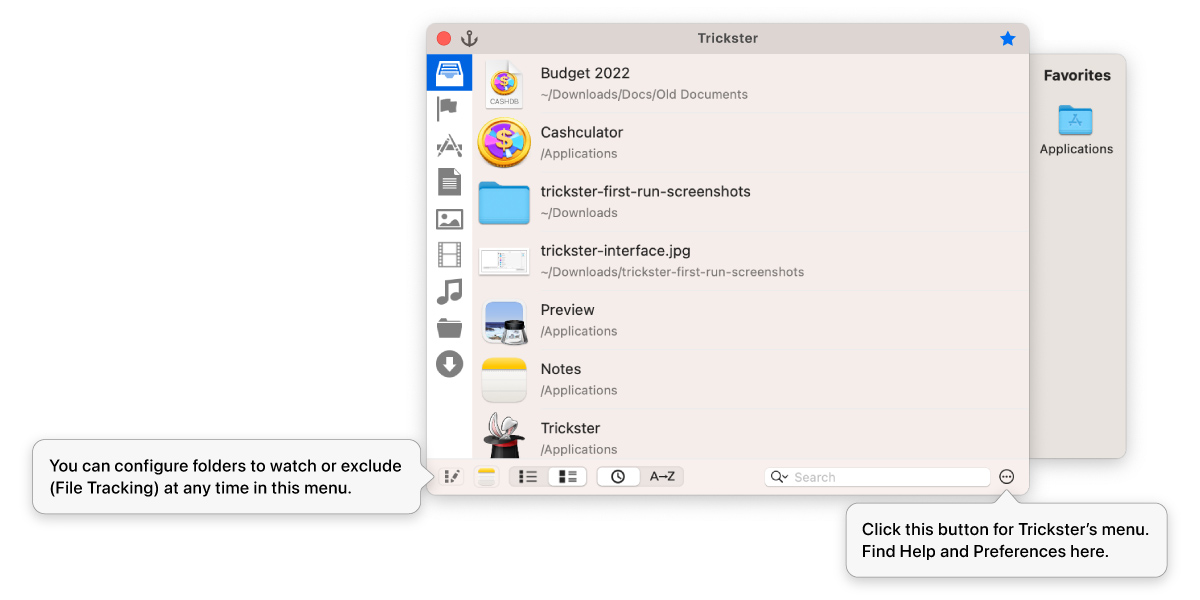
Trickster adds a top hat to your Mac’s menu bar so you have quick access to your files. Click it to open the Trickster window where you can see your recently added, opened, or modified documents and folders. The left edge of the window lets you quickly filter what you see. Click the file drawer, for example, to see all recently modified files and folders. Click the photo to see just images and other graphics files, and click the folder to see the folders where the contents have recently changed.
The window’s bottom bar includes several handy tools. Working from left to right, here’s what you’ll find:
- Filters Menu: From here, you can add and remove tracked folders, and make filters for controlling what Trickster shows you.
- Active App Filter: Click this to show files for just the currently active app. If you’re working on a report in Pages, for example, only Pages documents will appear.
- Row Style Options: Compact Row shows file, folder, or app names along with small icons. Extended Row shows the item name and path with large icons.
- Sort Options: These options let you sort items by most recently active, or alphabetically.
- Search: The search field lets you look for items by name.
- Main Menu: This is where to go to find Tricker’s preferences, check for app updates, and more.
Adding Watched Folders to Trickster
To get the most out of Trickster, you need to track the folders and documents that are most important to you. That could be your Downloads folder, client projects, the Documents folder, or a photos folder, for example.
While the idea of letting Trickster monitor your entire Home directory may sound appealing—after all, seeing every recently changed file or folder sounds pretty handy—you should be more deliberate and specific with your choices. macOS makes and modifies a lot of files behind the scenes that you probably don’t need filling up your Trickster views.
To add new tracked folders, start by clicking the Trickster menu bar item, then click the Filters Menu button in the app window’s lower left corner. Now click Configure File Tracking. Next, click Watched Folders and drag the folders you want to track into the right-side column. When you’re done adding folders, click Apply Changes.
Trickster automatically monitors everything inside the folders you add, so changes in subfolders show up, too. Here’s an example: Let’s say you add your Documents folder to the Watched Folders list. If you make a new folder called “My Favorite Recipes” inside Documents, new and edited documents in the “My Favorite Recipes” folder are also tracked by Trickster.

Excluding Items You Don’t Want to Track
Just because you want to see your recent files and folders in an easy to use interface doesn’t necessarily mean you want to see every file. Let’s say, for example, you don’t need to see .XML files.
Start by clicking the Filters Menu button, then click Configure File Tracking. Click Excluded Extensions, then click the plus button to add an extension. Now enter the extension without a period at the beginning. If you don’t want to see .XML files, for example, enter “XML” in the field. Now click Apply Changes.

Favoriting Folders and Files
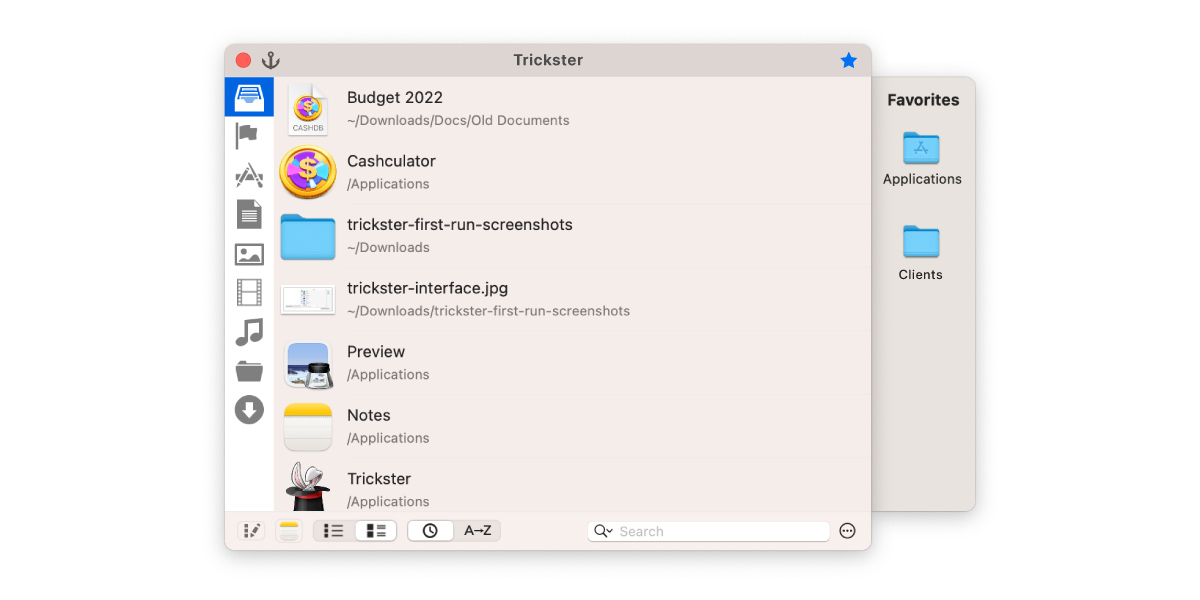
You can quickly access the files and folders you use most by adding them to Trickster’s Favorites sidebar. If you don’t see the Favorites bar, click the star in the upper right corner of the Trickster window.
To add folders or documents to Favorites, just click and drag the item from any of Trickster’s recent files lists into the Favorites sidebar. Double-clicking an item in Favorites automatically opens it. You can also move or copy items by dragging them from the Finder onto folders in Trickster’s Favorites sidebar.
Getting Even More Out of Trickster
With Trickster set up to track just what you want, you can find the files you need without spending time manually searching through lots of folders. You can copy, move, rename, and delete files, just like you do in the Finder. Just select the item in the Trickster window, and drag it like you normally do, or click the gear icon to the right of the item’s name to do more, such as rename, show in Finder, and move to the Trash.
Read what Apple loves about Trickster in their App Store feature story, “Files at Your Fingertips.”
To learn even more about what makes Trickster great, check out the online user manual for more tips and tricks or watch the video below!